
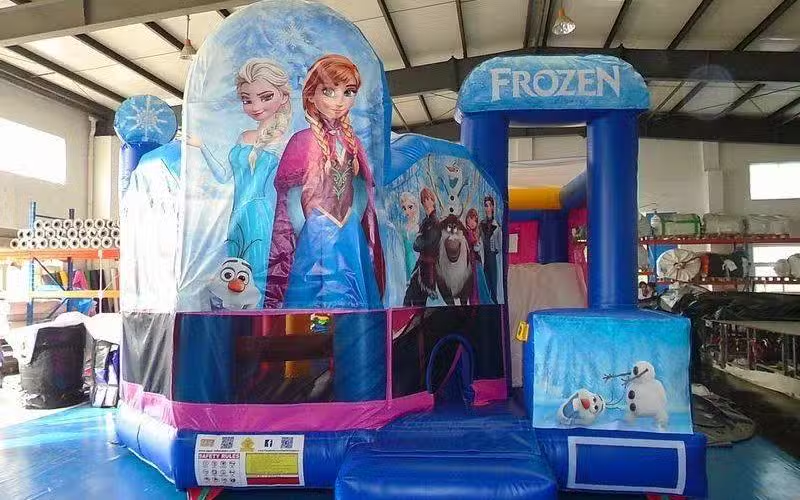
A standard jumping castle may take approximately 20 to 40 minutes to set up. Larger inflatables, difficult access and hard-surface installations can take considerably longer.
The actual setup time begins when the equipment reaches the installation area—not when the delivery vehicle arrives at the property. Moving a heavy rolled inflatable through narrow gates, across a large park or up steps may take longer than inflating it.
Here is what a typical setup may involve.
Before the Installation Team Arrives
Preparation can make a significant difference to the setup time.
The hire company should already know the surface type, available space and delivery access. If the area is concrete rather than grass, or if the only access is through a narrow gate, this information needs to be provided before the event.
Before delivery:
- Remove furniture, toys and garden equipment
- Pick up branches, stones and animal waste
- Unlock gates and shared entrances
- Move vehicles away from the delivery route
- Keep children and pets clear of the setup area
- Confirm that the required power supply is available
- Make sure sprinklers have been switched off
Avoid watering the lawn shortly before installation. Wet or muddy ground can make it harder to move the equipment and may affect whether the site is suitable.
A Typical Setup Timeline
The following times are only a general guide. The size of the inflatable, venue conditions and installation method will affect each stage.
0–10 minutes: Inspecting the site
Before unloading the jumping castle, the operator checks the proposed location.
This includes confirming the available space, ground condition, overhead clearance and surrounding hazards. The operator may also check the delivery route, power point location and expected position of the blower.
If the actual site is different from the information provided during booking, the setup may be delayed. In some cases, the jumping castle may need to be moved to another area or replaced with a smaller model.
10–20 minutes: Moving and positioning the inflatable
The rolled jumping castle is transported from the delivery vehicle to the setup area. Commercial inflatables can be large and heavy, so operators may use a trolley or other handling equipment.
The groundsheet is positioned first, followed by the rolled inflatable. The castle is then unrolled and arranged in the correct direction.
This stage can take longer when the site has:
- Narrow gates
- Stairs
- Steep paths
- Soft or muddy ground
- Long distances from vehicle access
- Tight corners
- Indoor doorways or corridors
Customers should not attempt to help move the inflatable unless the operator specifically requests assistance.
20–30 minutes: Connecting the blower and inflating
The inflation tube is attached to the correct blower, unused air outlets are secured and the electrical lead is positioned safely.
Once the blower starts, a standard jumping castle may rise within a few minutes. Larger inflatables or models requiring several blowers may take longer to reach their full shape.
Inflation is not the end of the setup. A castle that appears fully inflated is not ready for use until it has been anchored, inspected and prepared around the entrance.
30–40 minutes: Anchoring and preparing the entrance
On suitable grass, the operator may secure the required anchoring points with stakes. On concrete, asphalt or an indoor floor, an approved alternative anchoring or ballast system may be required.
Hard-surface installation often takes longer because multiple weights need to be positioned and connected correctly. Protective material may also be placed beneath the inflatable to prevent abrasion.
Entrance and exit mats are then positioned, and the blower tube, power leads and surrounding area are checked.
The Final Check Before Use
Children should not enter the jumping castle immediately after it rises. The operator still needs to complete a final inspection.
This usually includes checking that:
- The inflatable is firm and correctly shaped
- Required anchoring points are secure
- Blower tubes are properly connected
- Air intakes remain unobstructed
- Electrical leads are protected
- Entrance mats are correctly positioned
- The area around the castle is clear
- Netting, seams and accessible surfaces appear undamaged
- Operating and supervision instructions are understood
If a problem is identified, the operator may need to deflate or reposition the castle. It is better to allow extra time than to rush the inspection because guests have already arrived.
Why Some Setups Take Longer
A small backyard castle on level grass with wide access may be ready relatively quickly. A large combination inflatable at a public event could require substantially more preparation.
Setup time may increase because of:
Inflatable size and design
Large slides, obstacle courses and combination units are heavier and may require multiple blowers or additional anchoring.
Ground surface
Concrete and asphalt normally require different anchoring equipment and more surface protection than suitable grass.
Delivery access
A long distance from the vehicle, narrow gates or steps can delay unloading and positioning.
Weather
Rain, strong wind, extreme heat or waterlogged ground may slow the installation or prevent it from proceeding.
Venue requirements
Schools, halls and public event sites may require scheduled access, electrical checks or approval from venue staff.
Multiple inflatables
Each unit needs to be positioned, inflated, anchored and inspected separately. The total setup time is not simply the inflation time of the largest unit.
What Time Should the Castle Arrive?
Arrange a setup window with the hire company that allows enough time for delivery, installation and final safety checks before guests are permitted to use the inflatable. Larger units, difficult access and multi-inflatable events will require additional time.
The delivery time and event start time are not always the same. Hire companies may organise several deliveries in one area and provide a delivery window rather than an exact arrival minute.
Ask when the jumping castle is expected to be ready for use, rather than assuming that it will be ready as soon as the vehicle arrives.
How Long Does Pack-Down Take?
Packing down a jumping castle may take a similar amount of time to setting it up, although conditions can affect the process.
After all users have left, the blower is switched off and the inflatable is allowed to deflate. Air must be removed before the unit can be folded and rolled for transport.
Pack-down may take longer if the castle is wet, dirty or difficult to access. A large inflatable may also require several people to fold and move it safely.
Keep guests, children and pets away while the equipment is being deflated and packed. A partially collapsed inflatable, loose cables and moving equipment can create hazards around the work area.
A standard jumping castle will often take around 20 to 40 minutes to install under suitable conditions, but the safest approach is to allow more time. Clear access, an accurately measured site and correct information about the ground surface can help the setup proceed smoothly without rushing the final checks.